Recently mom’s aging water heater gave up the ghost and sprung a leak. We had just recently come out of a winter storm (Penelope) and perhaps the cold temperatures helped spring that leak. Since the water heater was located in the garage, a lot of the water escaped via the closet door and ran along the concrete slab to the exterior. Some of that water seeped into the house. Mom’s closet is on the other side of that wall and the carpet was soaked. She was able to call a plumber to have a new water heater installed over the first 24 hours. Subsequently she received an offer to repair the water damage to her closet. I’m not sure of the guy’s intention but he recommended to have the dry wall replaced up to 3 feet off the floor. I happen to have some experience with dry wall and flooding so I naturally distrusted his advice. The next morning I drove up to mom’s to scope out the details.
My Findings
Upon arrival I asked to take a peak at the new water heater. I expected a Rheem given the turnaround time. Rheem products are easily attainable at Home Depot. The last water heater I installed was a Rheem. The plumber decided to install a builder grade water heater. The original water heater was not installed with a pan or drain line. The plumber did install a pan but he didn’t finish the drain line and the reason why is that there isn’t access to run a drain line from the water heater closet to outside without having to cut the closet door and snake a drain line along the floor of the garage. We decided we would revisit that part of the design after taking care of the water damage.
The other thing I noticed was that there was not any wet dry wall inside the closet except for the piece of drywall that someone cutout and left dangling on water line. It looked like someone had cut an access port to the pipes inside. Since the water heater is inside a closet and this cut out is behind the water heater it didn’t seem like something that needed to be changed. The dry wall along the bottom of the closet was bone dry. Usually the dry wall installation doesn’t go all the way down to the floor. This gap is the reason the dry wall is still dry. The water that leaked into the house wasn’t a wall of water but a drip. Since the dry wall didn’t touch the ground the water never soaked in.
Inside the closet the carpet was soaked and the soak ring was nearly 50% of the carpet surface. You could see the water ring and you could hear the squishing of the water in and under the pad. Of course all of that carpet and padding would need to come out. The good news was that the dry wall inside the closet was also bone dry. There was no need to remove any dry wall at all.
The Plan
We decided that we would remove the carpet and carpet pad and replace that material with luxury vinyl tile. I measured 80 square feet. I watched a couple of videos on YouTube and decided this would be an easy job to do. Rather inexpensive too. Here is my project list.
- Tools – about $60
- Padded knee pads – more about these later
- Luxury title install kit – includes spacers, tapping hammer and various hammering blocks to get the tiles tightly installed
- Floor scrapper
- Hammer
- Prybar
- Jigsaw
- Flush cut saw
- Utility knife and blades
- Metal yard stick
- Measuring tape – I really need to get a metric version. Trying to do math against fractions is no fun.
- Head lamp
- Miter saw – I didn’t bring one of these but we will need it for the trim later.
- Stool/work space
- Vacuum
- Bucket or trash can
- Flooring planks – about $350. See image below.
- 3/4 inch quarter round trim – about $90. Buy more than you think you’ll need because you’ll need it.
Mom decided to go with the Stainmaster product from Lowes. She didn’t get the color she originally wanted but the color she chose ended up being perfect. If time permits, ordering your title probably helps avoid inventory gaps. The total materials and tools cost ended up being over $500. Not bad for a new closet.

Demo
The demo work happened fast. I was able to pull of the carpet pretty easily. It all came out as one piece. It was heavy with water but I was able to wrestle it out to the garage by myself. The padding was also pretty easy to remove but it came out in pieces. It was haphazardly glued down so areas around the glue ripped off so that’s why it came out in pieces. There is no way that padding would have dried without molding.
I used my floor scrapper to remove the residual padding an glue from all of the glue lines. It wasn’t hard, just required the right tool and some elbow grease. After taking out the carpet I needed to remove the carpet tack strips. These are strips of wood the line the perimeter of your room and they are designed to hold the carpet in place with tension.

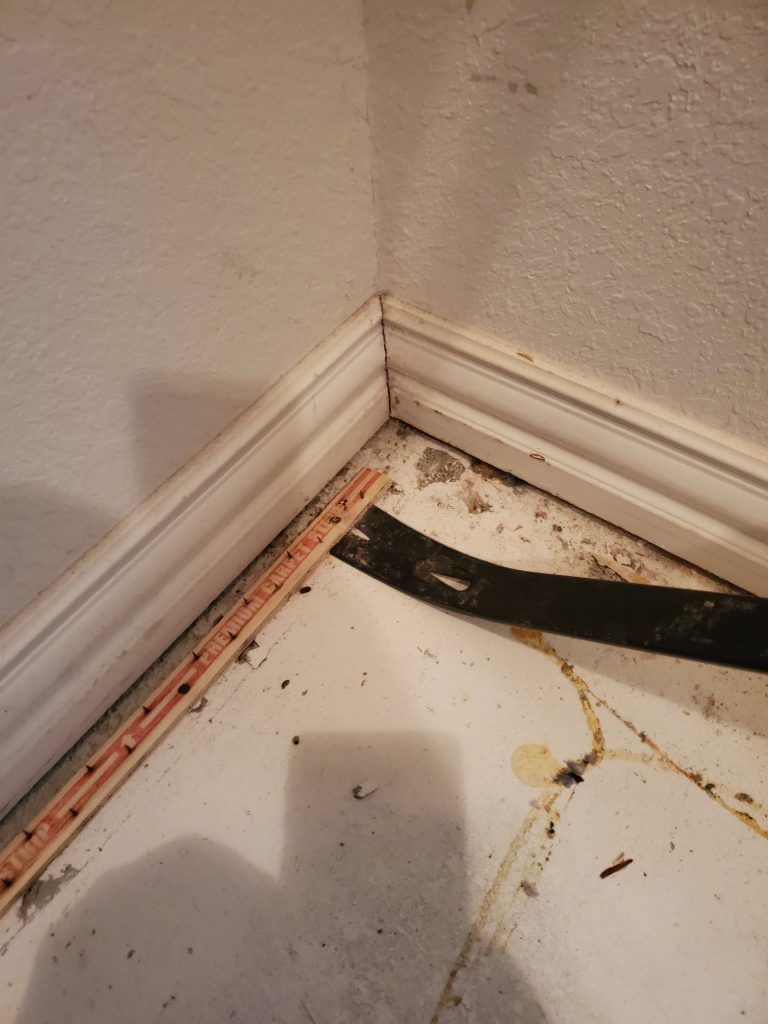
The small tacks work like teeth to hold the carpet in place. I used a small pry bar and hammer to remove the strips. I noticed some concrete also flaked off as the strips were removed. This made a lot of dust and debris and some small holes. If I was staining the concrete I’d probably try to fill those holes. The vinyl plank will just overlay those so no need to fill them. A few nails did not come out of the concrete but instead the head of the nail came off leaving a small metal piece sticking out. I used my hammer and tapped them out or flat.
Once I had all of the strips out and nails removed I used the vacuum to remove the dirt and debris. Here are some pictures of the cleaned up floor.


The Install
The Lowes website has a calculator to help decide how much product you’ll need for your job. In our case the calculator said we needed 5 boxes. I didn’t end up using all 5 boxes and I was able to return 1 box. The thing I didn’t realize until much later is that you need to be very careful when cutting these planks as you can only cut them twice before they are useless. The title must be installed in a particular direction and because of the locking edges you can’t use scape like you think you can. That is because without the locking edges you will have a visible gap.
Before laying down the first plank there is a decision to make. We decided to lay the planks so that when walking into the closet the tiles will run lengthwise. Its important to do a little planning because the walls probably aren’t square. To compensate for that I will need to cut the planks that lay against the wall in a manner that fits. I laid out several titles to get the feel and measured the distance to the wall at various points to create an angled line that I could cut out. I also traced the edges of those planks for a visual line to keep me parallel as I laid down the next row of titles. Also its important to do a little planning so that you don’t end up with awkward seams or small pieces of title at the ends. It’s better to stagger the titles so the seems don’t all align.

I left about a quarter inch along the sides to account for expansion of the floor materials. These gaps will be covered with trim later on. This is also a good time to mention that good quality knee pads are a must for this type of project. I had some thinly padded ones and I suffered. You will spend a lot of time on your knees doing this kind of project.
I thought I could use the flush cut saw to cut under the door jam and other structures that impede laying the planks but what I discovered is that technique only works in a couple of places. I was able to fit the plank under the door jam by connecting it to the plank next to it but only at about 45 degree angle. Then I needed to slide the plank under the door jam before finally locking it into place. Once a plank is in its fully locked position, it doesn’t move very easily. Another problem I ran into is some areas required me to slide under a section, then lock. Its impossible to do that. Instead you need to cut the tile first to fit the area and then lock it into place. This of it as closing a book. The book cover must fit exactly into place otherwise you can’t close it. The first several planks took much longer to install than the rest of the closet. I used the spacers to maintain an even spacing around the closet. The final picture also shows the 5th box of planks that I didn’t use. It was a close call but I was able to make it work.


Lastly I used a white painted wooded 3/4 inch quart round trim to cover the expansion gap. I added up all the perimeter measures to calculate the amount of linear feet of trim I needed. While I was at the store I realized that I won’t be able to use every inch of the trim so that means I’ll eventually be short so I bought an extra 12 feet, that’s 1 more trim segment or 5 in total. I also didn’t bring my power miter saw so I had no choice but to use a manual saw. It wasn’t that hard to use and because the cut lines are molded into the product it was easy to switch between the direction of the bevel.
I did learn some valuable lessons working with this trim. Here are the top 5
- It’s important to measure the length and know if the length is the long or short side. An angle cut produces a long side and a short side. Sometimes the long side is against the wall but other times depending on the direction of the flow the long cut ends up on the outside. If you get this measurement wrong your time will either be short or long 3/4 inch because of the 45 degree cut. Not only does this burn time but also your product.
- Cut the long trim first. I figured this out before my first cut. If you don’t cut out your long runs first you might not have enough product and a splice will be needed. It’s not the end of the world but it will require caulking and paint to cover up.
- The material left over after a cut might not line up requiring another small cut. These 1.5 inches of waste add up. I found it best to try to reuse the cut by find a place where that bevel would fit but sometimes it doesn’t work out and you’ll be forced to make that cut.
- Measure twice. Nothing worse than having some trim that is 1/4 in to short or too long.
- Bring air powered brad nail gun. You can’t secure the trim to the floor. I opted to glue the trim to the base bords but discovered the base boards aren’t always straight. In those cases where there was a bend in the wall I had no choice but to hand nail the trim to the base board. I am not a skilled hammer guy. An air powered brad nail gun makes the job super easy.
After a lot of cutting, gluing, nailing caulking and painting the floor was finally done. The last image below shows the transition strip I laid to cover the gap between the vinyl plank and the tile in the next room. This strip comes with a clip track that is glued to the concrete and the plate snaps into the grove and locks in. I had to cut it to fit and also cut the door frame again to be able to slide that into place.


Conclusion
I was really happy about the results. The closet looks amazing. I spent about 12 hours working the project. While my body ached from being on my knees and hunched over for 2 days, I enjoyed the work and will be doing my own closet and master bedroom.