I am always looking out for treasures. Several years ago I found a pair of rocking chairs somebody threw out onto the burn pile in my neighborhood. They didn’t look so bad off but there was some damage to the chairs. Both chairs had pieces missing from the back. Interestingly it was the same 3 pieces of wood that were gone. One of the chairs also had some noticeable rot and both chairs were a little rickety. I thought I could fix them up one day so I picked them. They sat around in my shop for a few years and I was considering dumping them again but then the perfect opportunity to prioritize the project fell into my lap. It turns out that my mother decided to leave her house in favor of a senior living apartment. Her back patio would be the perfect place for these chairs. I immediately began working out the details on how to go about restoring the chairs. It was February and a perfect time to do word working in my shop. I even used my heater to keep me toasty warm.
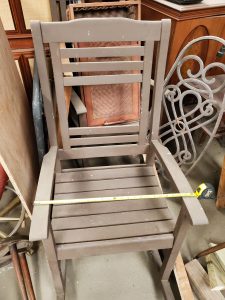
I don’t have a picture of the second chair but they both looked exactly the same. They both had the same huge hole in the back. I figured I was going to need to take the chairs apart to insert new slats into the backs of the chairs. It’s a good thing I decided on a total restore because there was significant rot on one of the chairs. It happened to be the first chair I started working on. Nothing like trial by fire.
Deconstruction and Repair
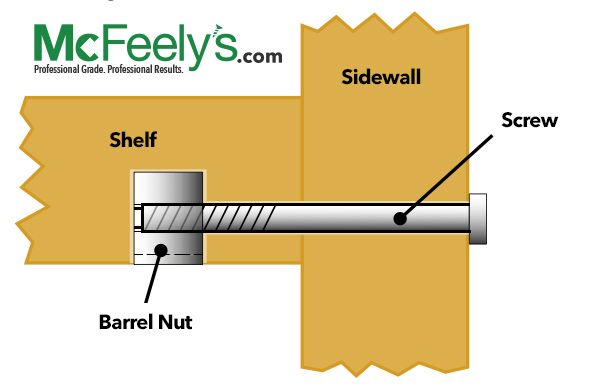
The chairs used a combination of Joint Connector bolts that screw into Barrel nuts, screws and wooden dowel pins. The diagram illustrates how the JCB and Barrel nut works. I began the process by removing the JCBs and those came out easily with my driver and a hex head bit. Most of that hardware was pretty tarnished and rusted so I wasn’t sure if I would use them again but I set them aside just in case.
Once the metal hardware was removed I was able to pull the chair apart. It came apart in four sections. The two sides, the seat and the back. This is the moment I learned how much rot was in this chair. Pretty much every dowel pin was rotten and certain areas of the chair had enough rot that it required chiseling out the bad wood and rebuilding the structure. In some cases I had to fabricate new pieces because the rot was so significate that patching just wouldn’t work. The following pictures shows some of the restoration I had to do.
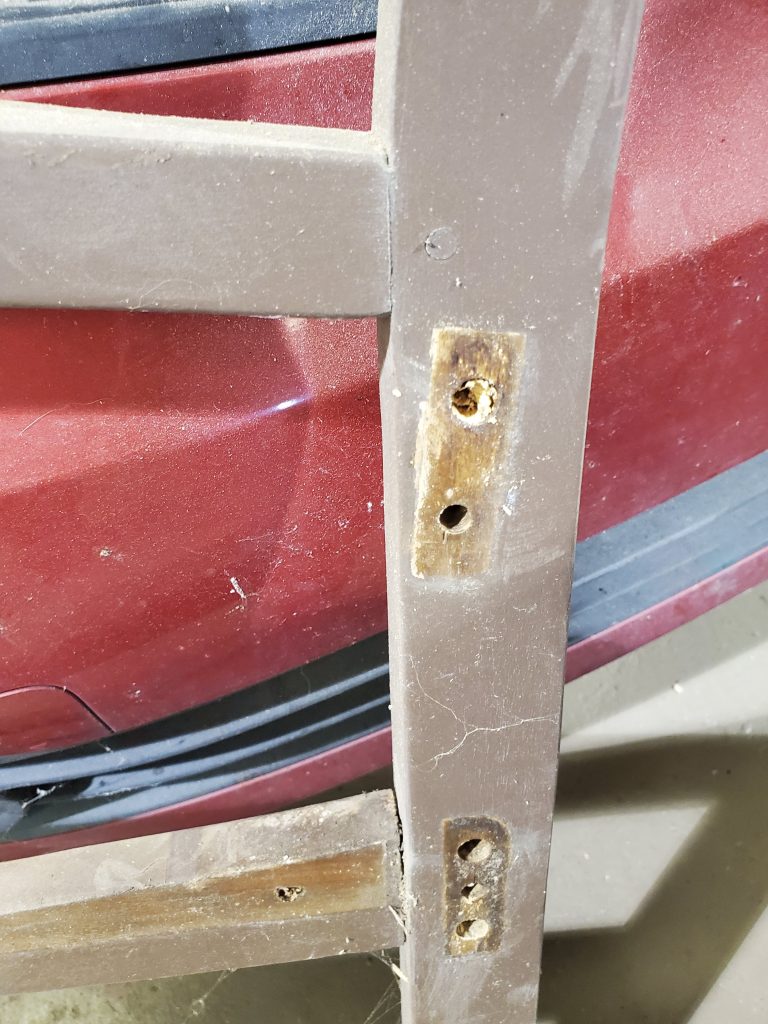 Side showing dowel holes
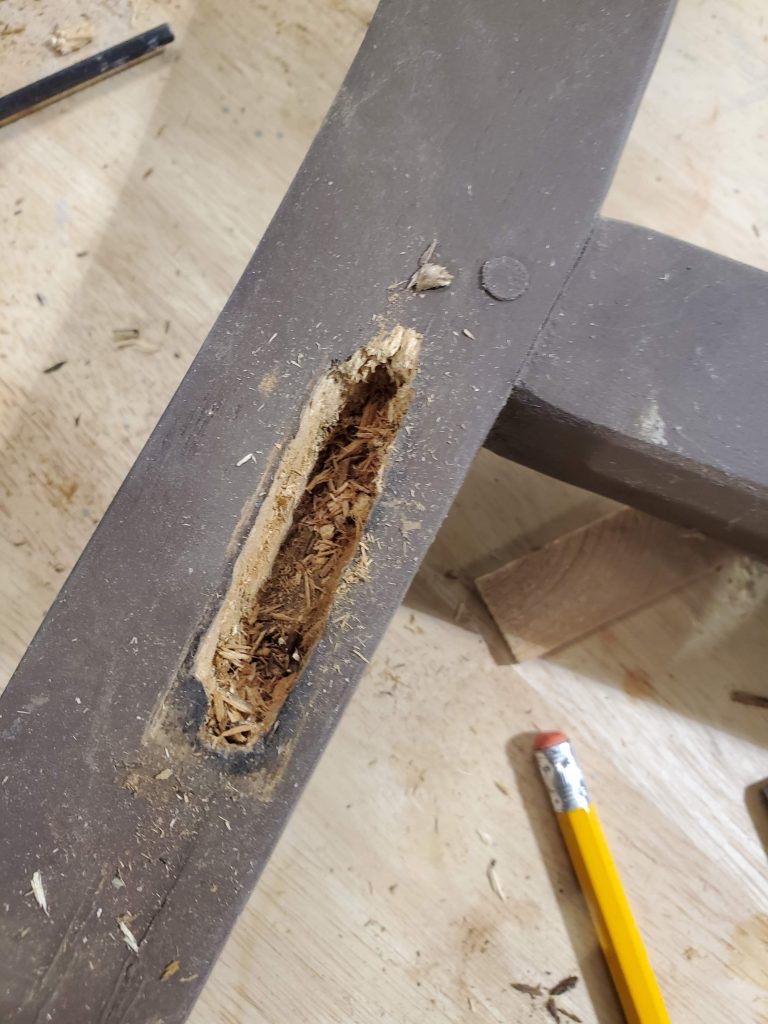 Side w/rot
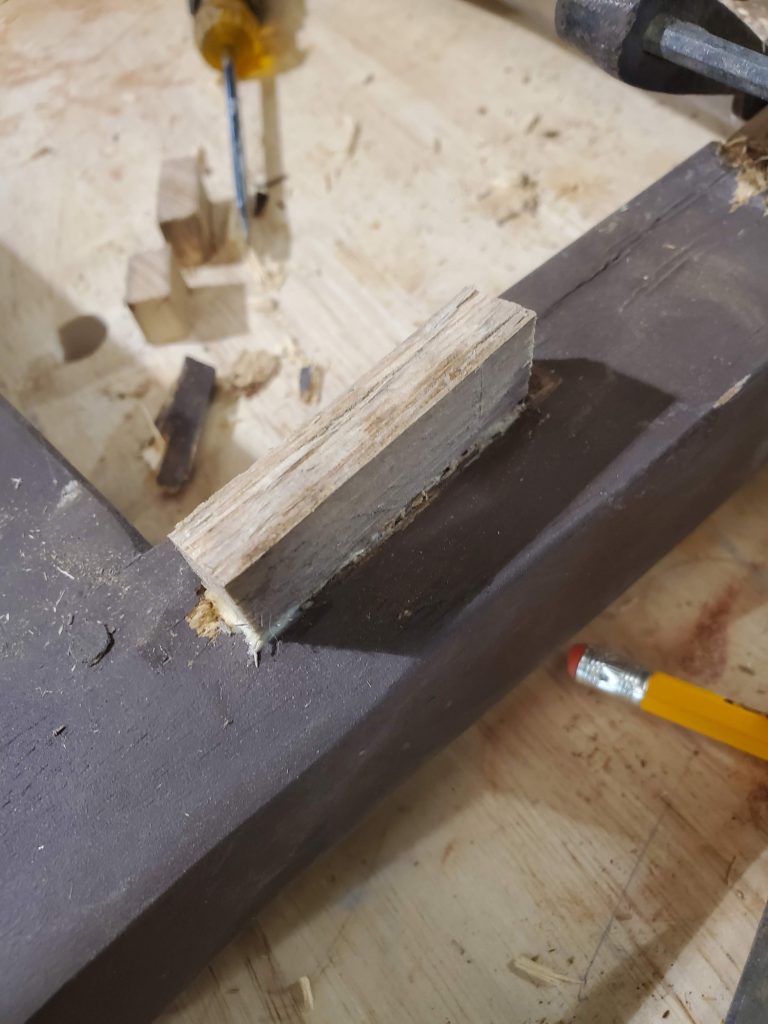 Side with plug
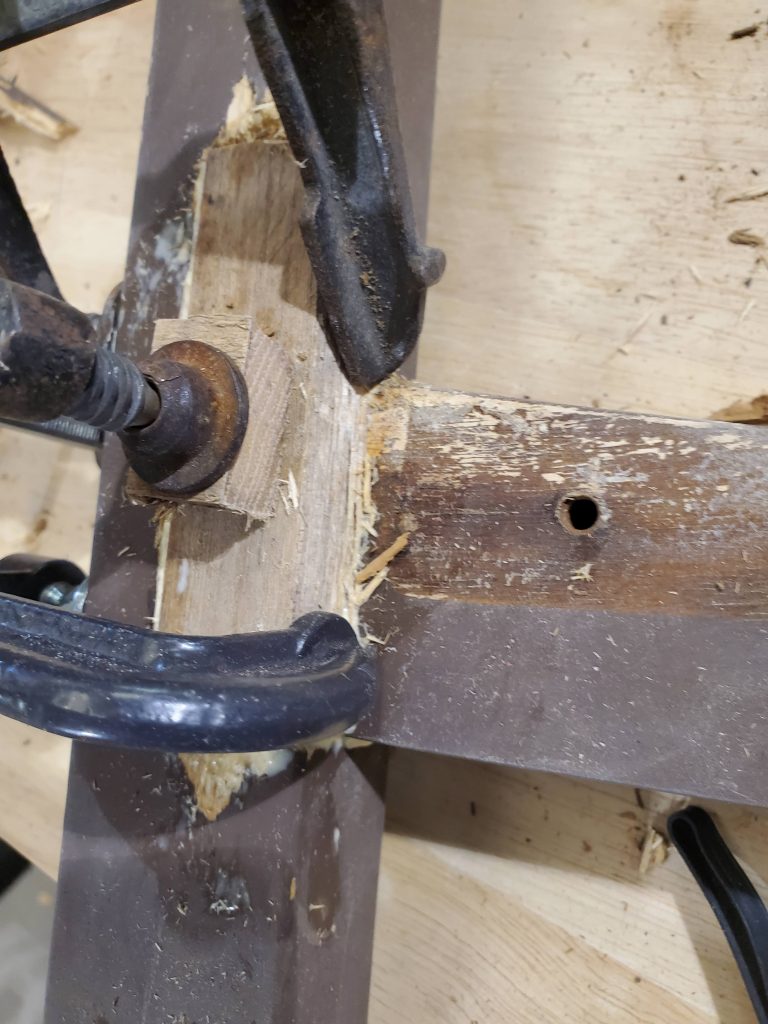 Side requiring more repair
The first image shows the dowel pin holes and the hole where the JCB fits through. The second image shows a similar area but with rotten wood. I had to chisel the space and insert a new block of wood to rebuild the structure of the chair side. Image three shows that. Essentially I glued in a chunk of new wood, then did a flush cut to smooth the area to a flat surface. Once repaired I drilled new dowel pin holes for later when I put the chair back together. The last image is of a larger section of rot that required a similar repair. Any of the gaps that were left over after flush cutting the plug were filled in with wood putty and sanded down.
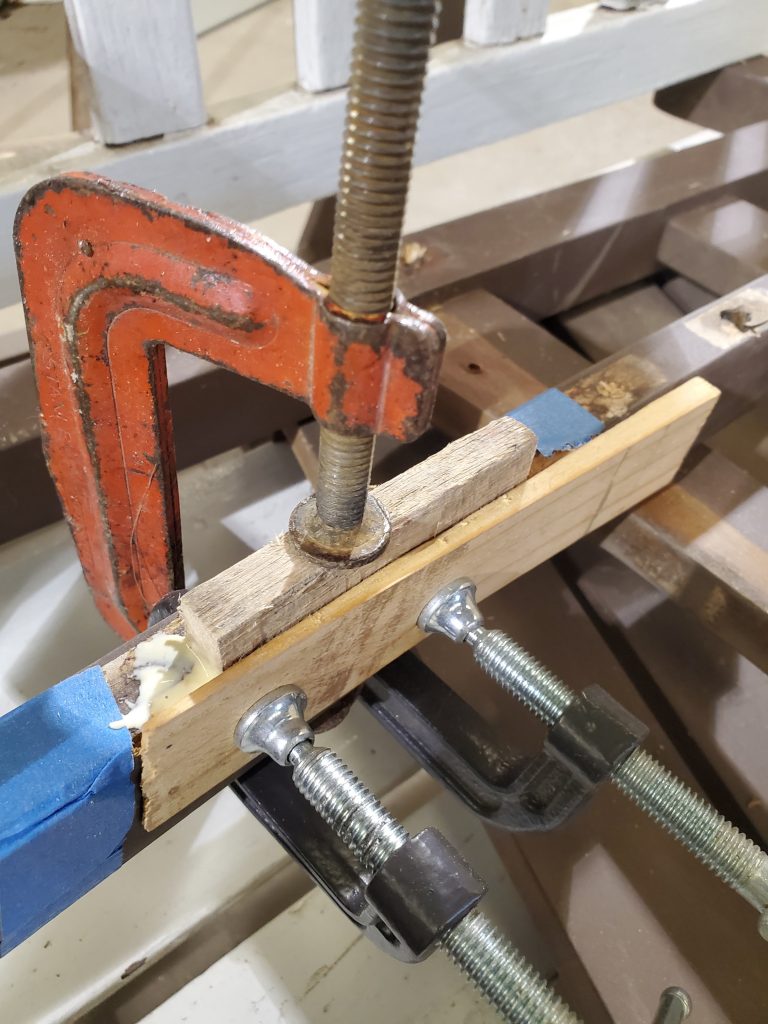
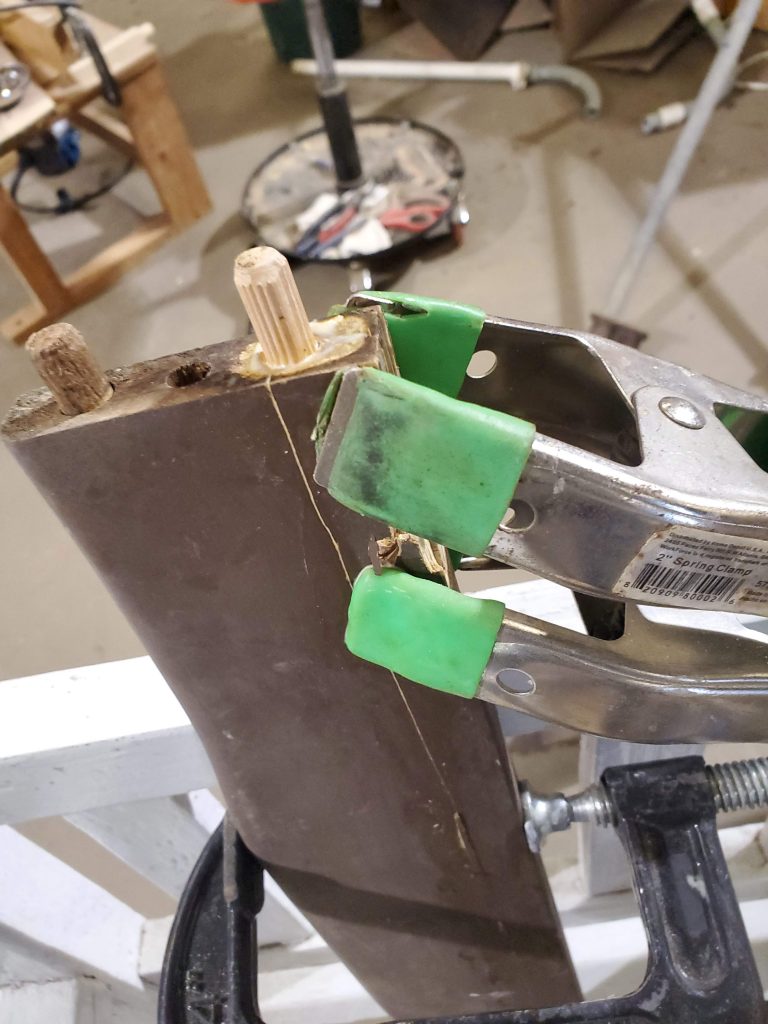
The back of the chair also required some repair. These where the biggest areas to fix. I used the same approach of plugging large gaps with new wood. The last picture in the set below is a result of me breaking the back of the chair apart. It didn’t come apart cleanly. To repair that damage I used the broken shards and lots of wood glue to reassembly the section. I clamped everything down overnight to get a really good seal.

One of the tricky things about this restore job is that the back of the chair was curved wood. I couldn’t just cut a new section because it wouldn’t have fit due to the curve and I don’t know how to curve wood yet.
I did have to cut some new pieces. As I mentioned before the backs of the chairs were missing some slats. After I took the back apart I used a good slat as a template to rip six new ones with my table saw. All of the wood I used for this project either came from the burn pile or was scrap wood I had hanging around my shop or garage. The back slats were easy, they were simple straight pieces of wood. I had to fabricate one of the pieces of cross support on the front side just where the seat ends. I don’t have a picture of that but it required a quarter round curve so that the edge doesn’t cut into the back of your legs when your sitting on the chair.
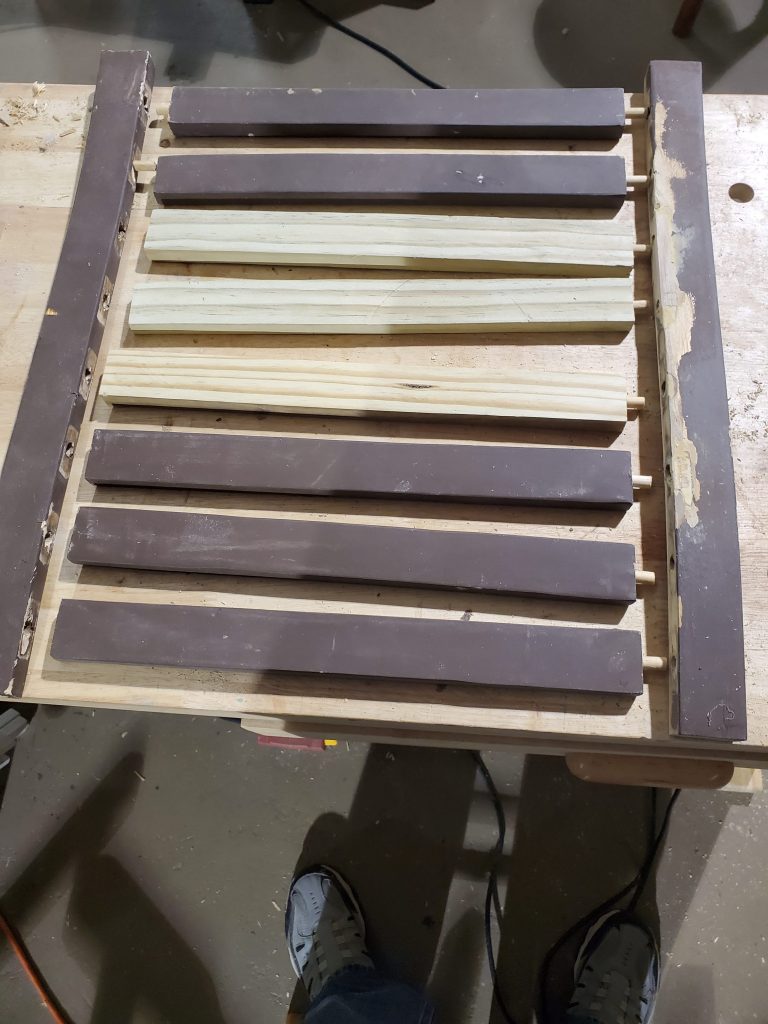
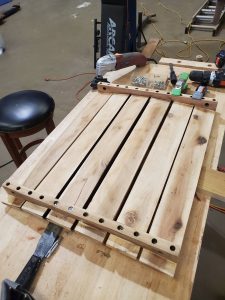
This is a photo of a deconstructed chair back with the new slates laid into place. If you look closely you can see some of the repair work. I used a 5/8 drill bit to create the holes for the dowel pins. The trick on that is to have a template so that your drilled holes line up exactly where you want them. The dowel pin between the two pieces isn’t flexible so they have to line up exactly.
Once I had all the rot repaired and new pieces I had to sand off the brown paint. I used my rotary sander for most of the job but some areas were to tight and I ended up using my multi-tool with a sanding attachment or I did it old school, with my hands. The pictures below show the chair parts all sanded. I did have to make some repairs on the seat. As I was handling the seat a few of the top slates fell out. Some of the slats were just fine but others needed to be reattached. These pieces were just screwed into the base. I ended up using slightly bigger screws because the original screws didn’t have enough good wood to bite into.
Assembly
The assembly process was pretty straight forward. I did have to drill many new dowel pin holes but again using a template ensured each part would fit nicely into the other. Each end of the dowel pin was glued and inserted into it’s hole with also had glue in there. This ensured maximum coverage of glue. It’s a good idea to double check the depth of the pin hole before gluing. I did a dry assembly before gluing but even still there were a couple of holes that were too shallow that I didn’t notice before the glue was applied. No big deal, just a little messy and frustrating to have to pull everything apart to fix that minor issue.
The other tricky part about the assembly is making sure every 90 degree joint is square. I ended up working with half of the chair at the time. This allowed me to set the glue without having to also worry about marrying up all the major sections at the same time. The following pictures help explain what I mean.

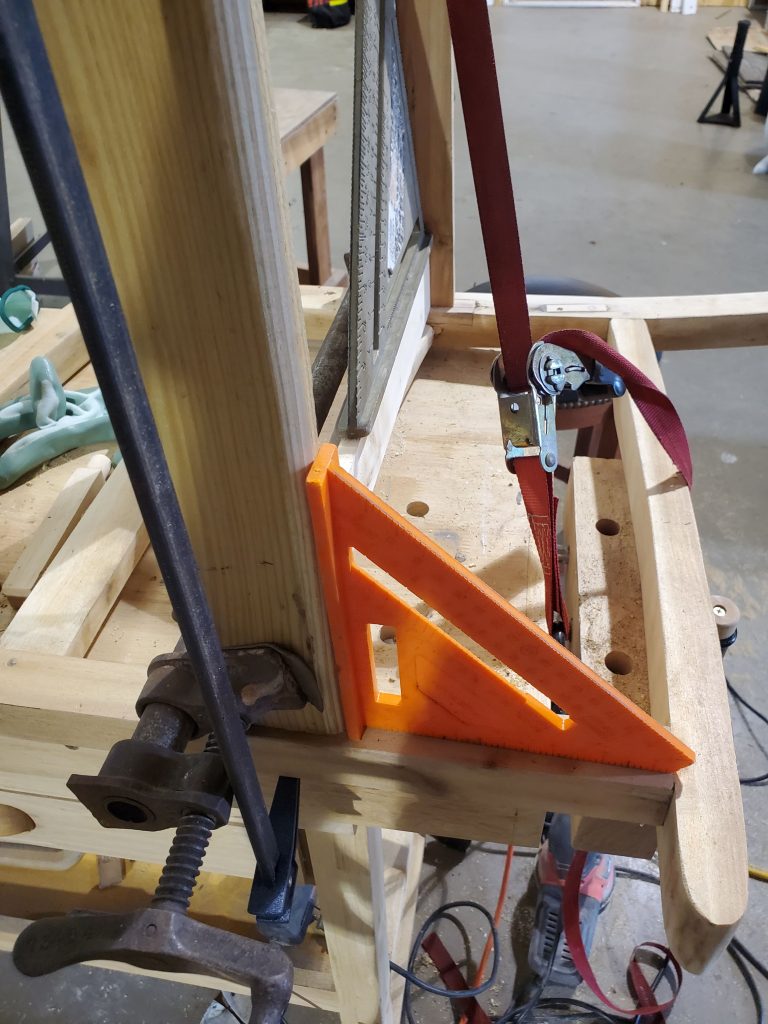
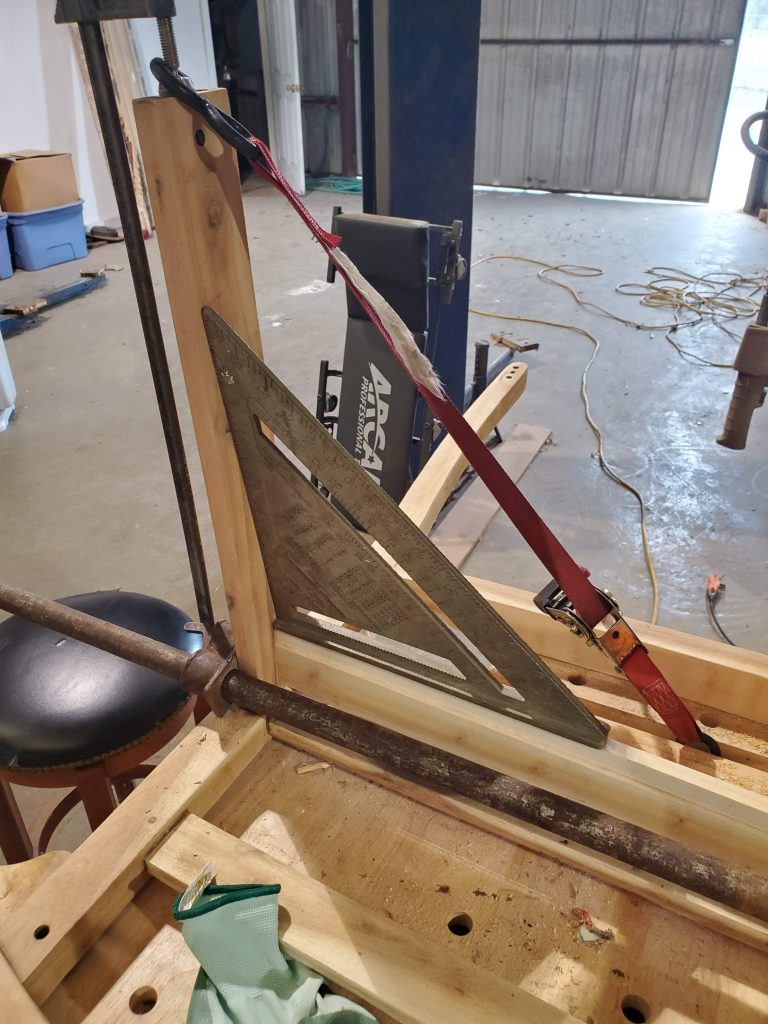
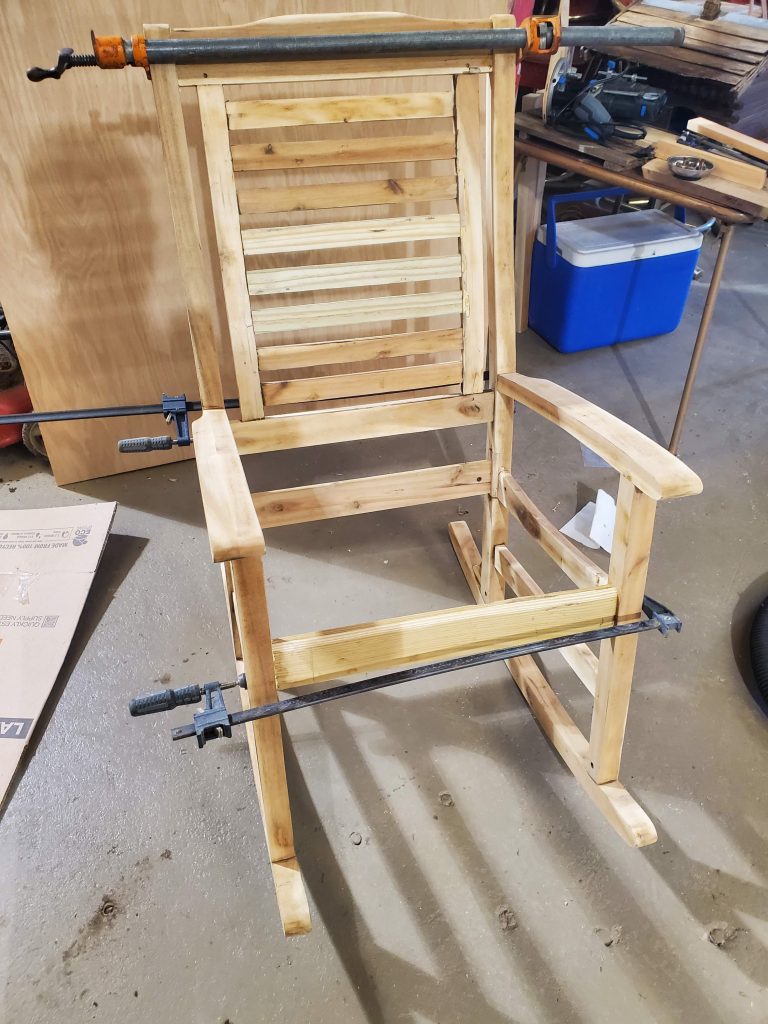
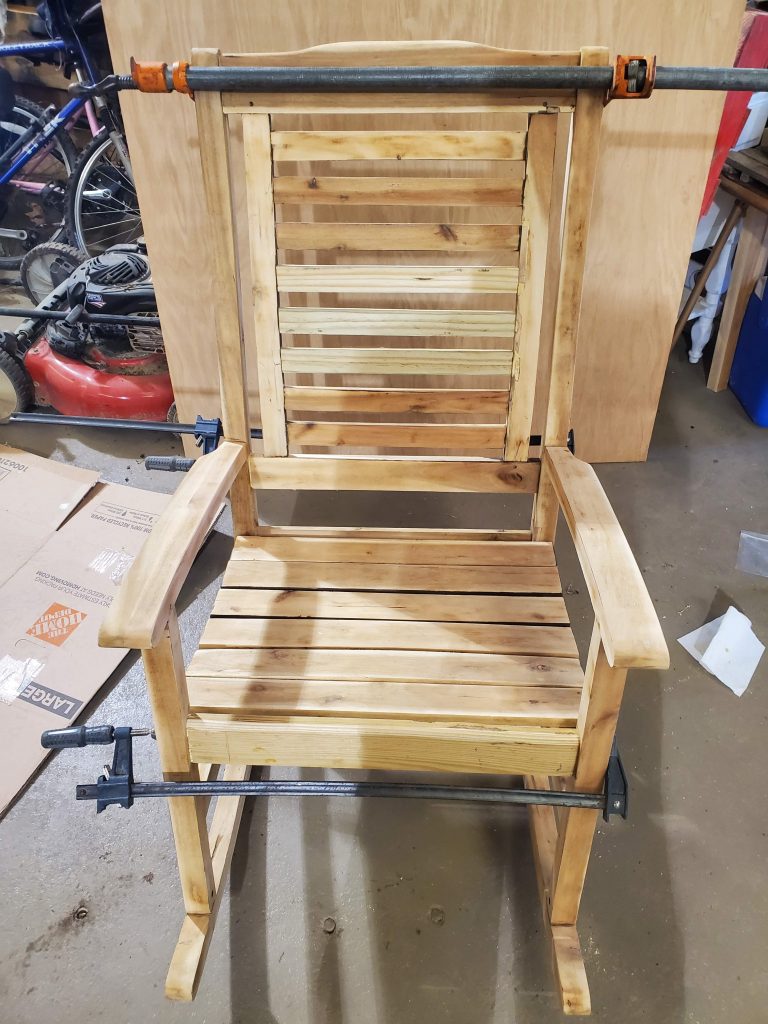
I used long clamps some of them are pipe clamps so I could maintain steady pressure on the freshly glued joints. I used a strap to help torque some of the pieces to maintain the squareness. Construction triangles were really helpful here. The following two pictures show the entire chair together with the final glue process. Again I used my big clamps to keep everything tight.
Painting
Mom wanted the chairs to be white. I picked up a quart of Glidden semi gloss white cabinet and door paint. It was just barely enough paint to cover both chairs. I ended up having to put on nearly three coats of paint. The raw wood was thirsty and the first coat looked yellow, the second was much better but I still had to go back and cover most of the chair with a third coat where the finish wasn’t good enough. In hindsight I should have used a primer. This also might have been a good project to use the paint sprayer but I chose to use brushes.
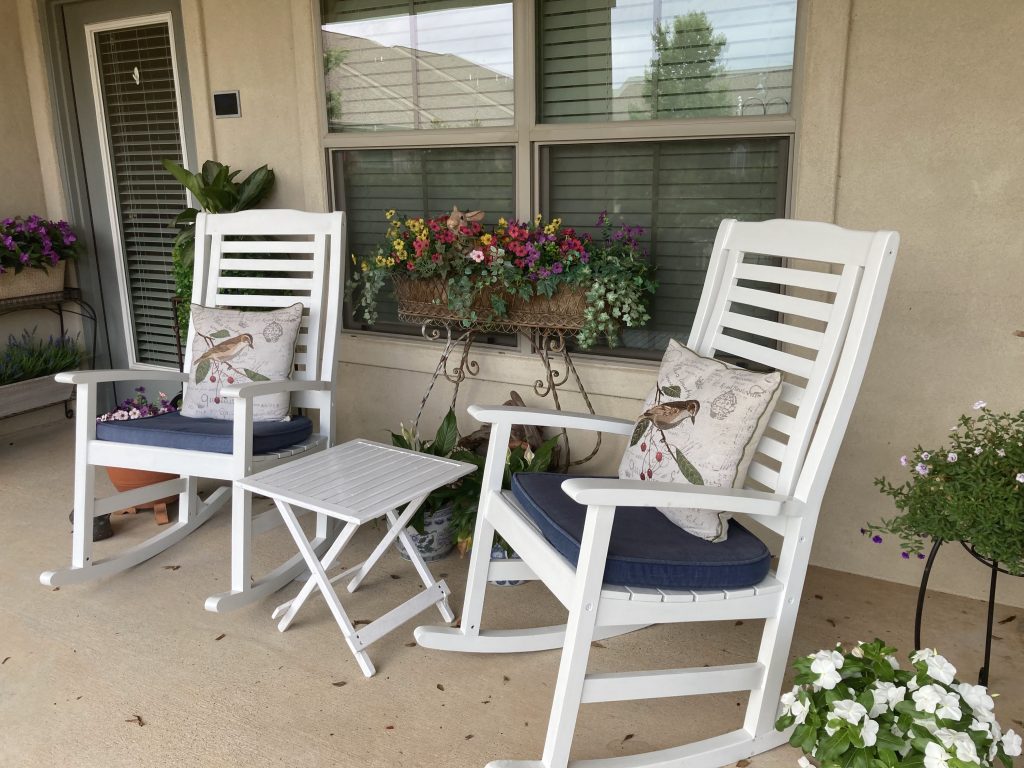
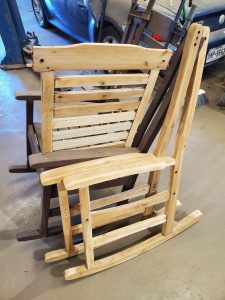
Final Product
These are the chairs as they sit on mom’s back porch. I should do a little call out to the second chair. I followed the exact process but for some reason the second chair had barely any rot. The only piece I had to fabricate was the little decorative piece at the back on top of the rocker. I used my scroll saw to cut our the shape. Overall I am really happy with my work and I’m so glad I was able to give these chairs a second chance.