Each year I enjoy making gifts from scratch or up cycling gifts from thrifted finds. I try to use materials I find rather than buying new. This year I wasn’t able to spend as much time in my shop as usual due to an injury that kept me off my feet. I was still able to complete some fun projects.
Necklace Tree Upcycle
Each year my immediate family likes to give hand made and thrifted treasures. I like to upcycle thrifted finds too. For this project I found a necklace tree in a storage unit I had to empty. It was a simple project because all I had to do was paint the item. I thought I had an original photo of the necklace tree but I didn’t. You probably know that I try to use AI to improve my life and in this case I was able to get a copy of the original necklace. Yes, the original was just as orange as the photo you see that AI made for me. What an incredible tool.
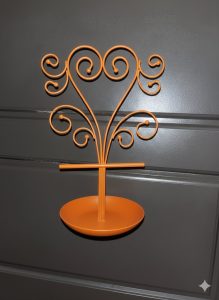
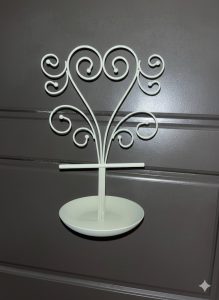
I learned from Flea Market Flip that sometimes a paint job is all you need to upcycle a piece. My daughter’s favorite color is Sage green so I decided to spray paint the item using a matte finish. I didn’t want the shine to over power any jewelry she decided to display. This gift would later be a perfect complement to another gift I’ll talk about later on this page.
Ricky the Rooster
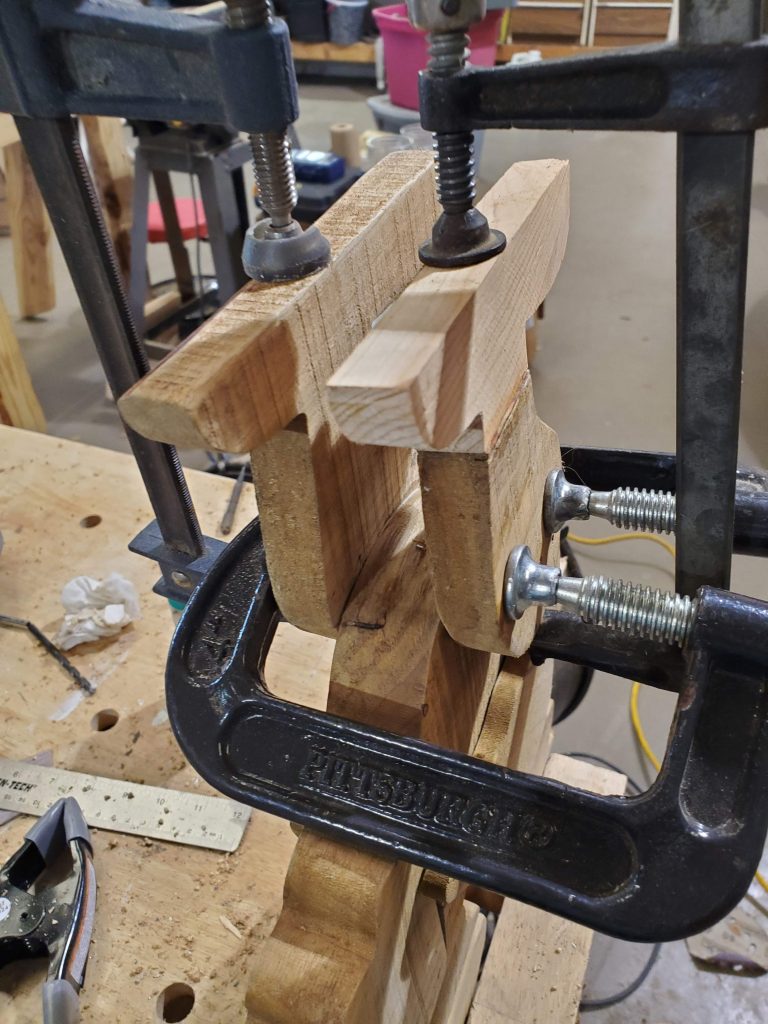
I found Ricky in a storage unit I had to clear out. He had suffered a broken foot and was destined for the trash bin until I realized this would be a cool upcycle project for my mom’s Christmas present. She has always had some chicken themed stuff around the house and just a month before she had me pick up a rooster pillow for her outdoor patio. I was able to cut out a new foot using my bandsaw and attached it using dowel rod pins. Unfortunately as I was fixing his broken foot, I managed to do some additional damage that I needed to fix. Several segments came dislodged and needed some new glue therapy.
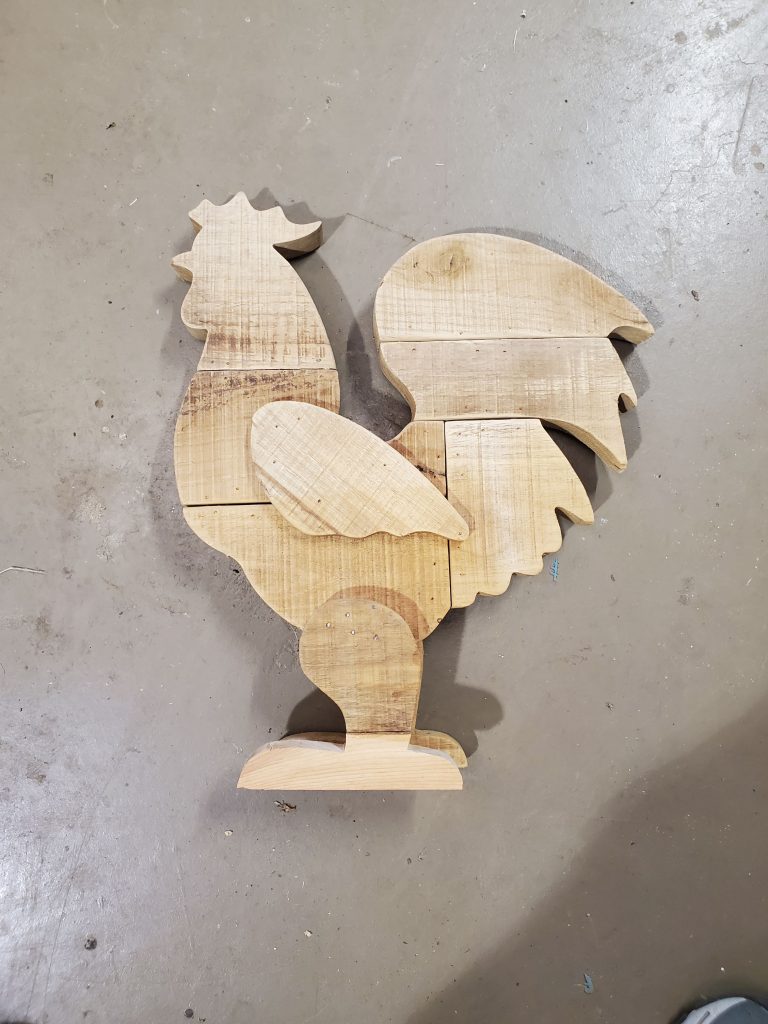
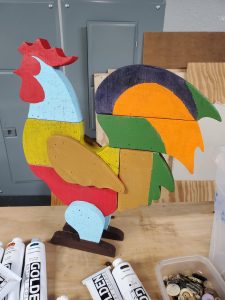
I used acrylic paints and decided a multi color rooster reflected his personality way better than the original plain rustic wood finish. She was in the hospital over Christmas so I brought him up to her recovery room to help brighten her spirit. I never imagined that’s how she would receive him.
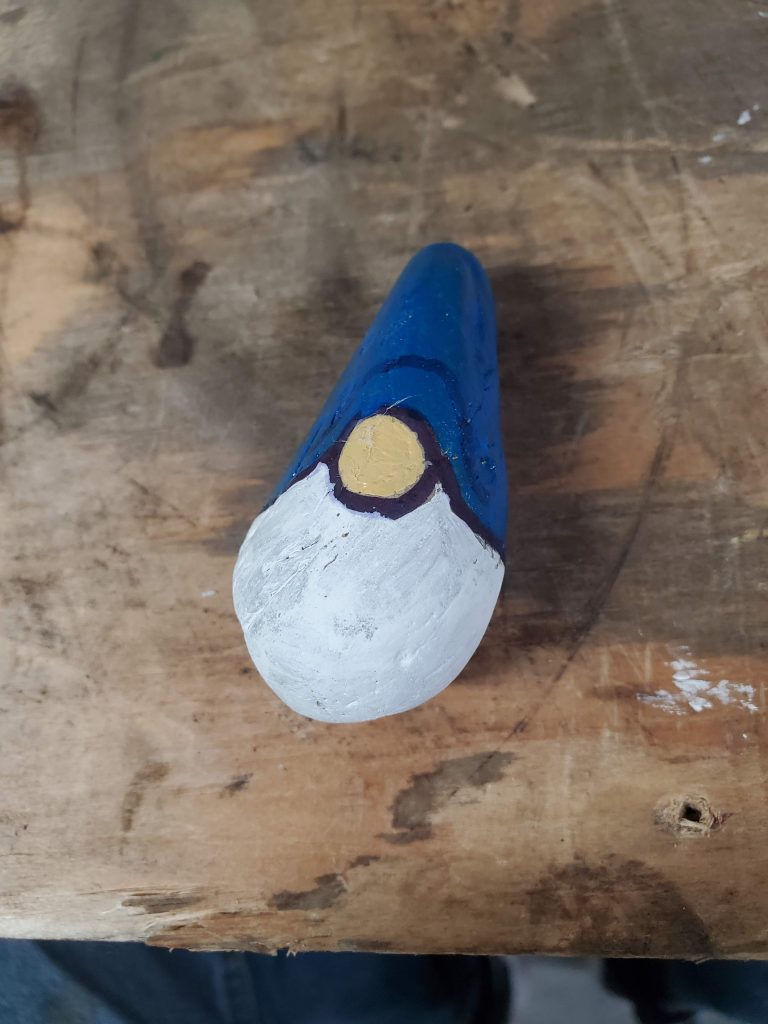
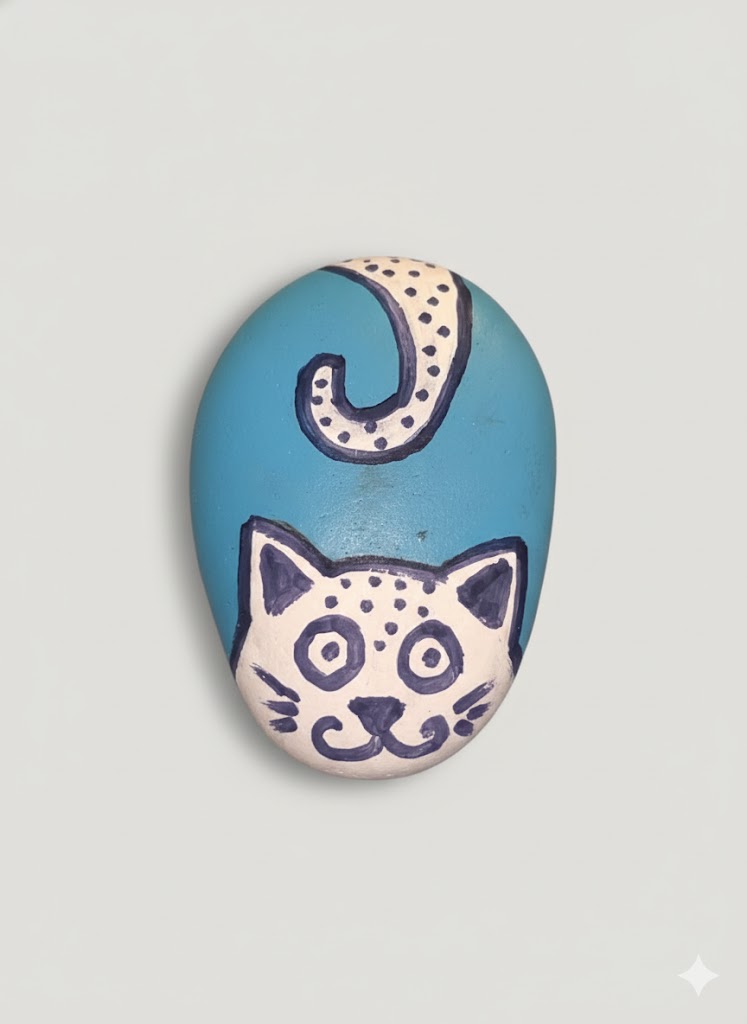
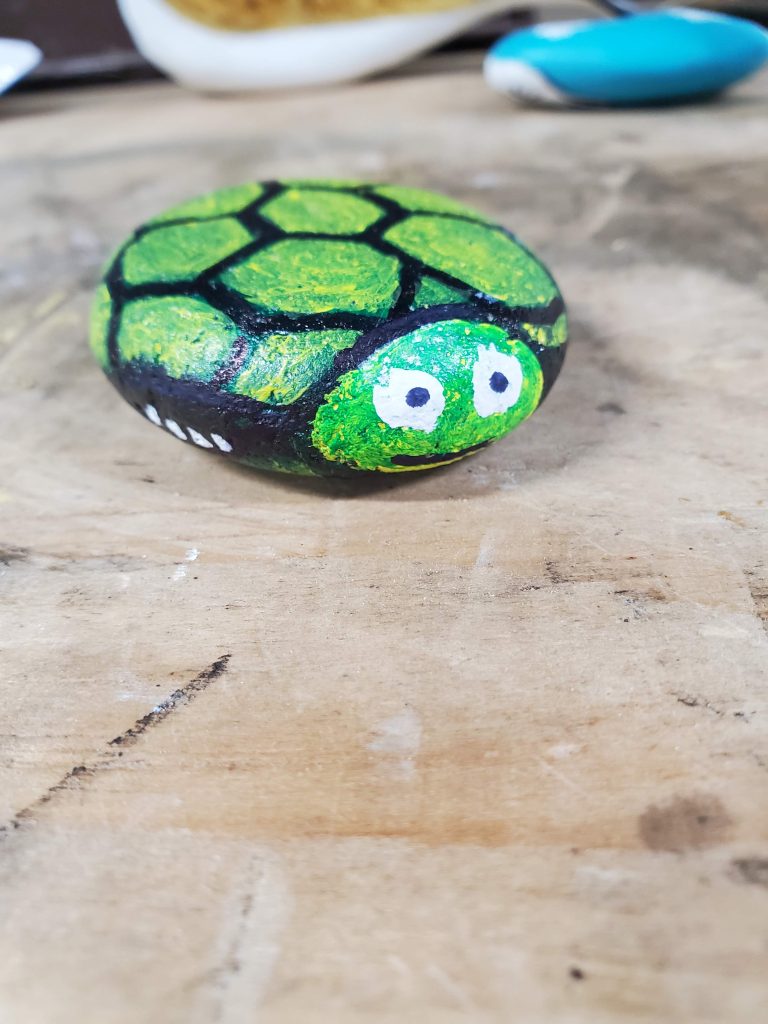
Painted Rock Friends
Another small project I did for my family was simply painted rocks. I got the idea while looking through Pintrest. I already had a bag of river rocks that we had used around the garden. I selected three that I thought would work for my subjects: a gnome, a cat and a turtle. There really wasn’t much to this other than deciding on the artwork and drawing the patterns on the rock for painting. I used acrylic paints and a few different sized brushes. I even used a sharpie to help define the lines since a paint brush can be hard to make consistently thick lines.
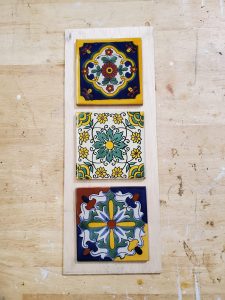
New Mexican Hand Painted Tile Frame
During my last trip to Santa Fe we stopped at one of those Mexican pottery places. I was originally looking for one of those hand painted planter pots but after my price shock and realizing that painted terracotta pots disintegrate over time as a result of water and winter. I really like the art and wanted something like that in my house. I decided to do a project with hand painted terracotta tiles instead.
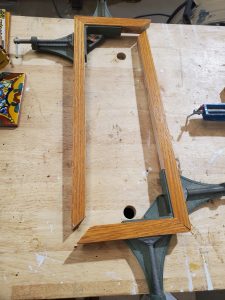
For this project I used a plank of oak board that someone threw out on the burn pile. I love our burn pile for all the raw material that it provides. When I picked the board I didn’t have a plan but I kept it knowing I’d eventually have a purpose for it. In this case the wood was used to make the frame. It had a finish on it already but I ended up sanding it down and refinishing the wood.
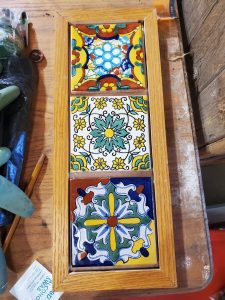
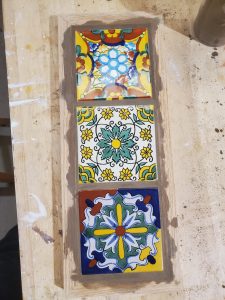
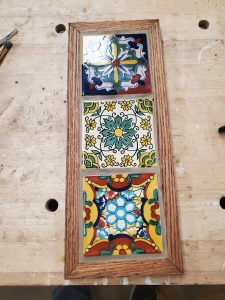
I secured the tiles onto a Basswood panel using liquid nails for the backing. Incidentally the Basswood was also picked from the burn pile. It’s 1/8 inch thick light wood that is light and perfect for art projects. I used hot glue to secure the backing to the frame. I mixed tile grout to fill in the gaps to make the piece look complete. I finished the wood with a medium stain called Gun Stock. The final product looks exactly like I imagined it while shopping the tiles.
Killdeer Wooden Bird
Last year I made a Sandpiper as a gift for a dear friend and my daughter absolutely loved the outcome. I decided to make her a wooded shore bird too. During drought conditions the lake water recedes exposing a sandy beach which attracts Killdeer. I figured the Killdeer would be a perfect model for my project.
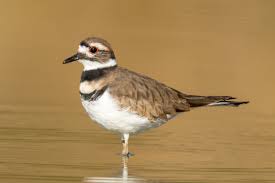
Killdeer are native to Texas and while considered shore birds, they are found in various habitats. I have even encountered a mother Killdeer feigning injury to lure me away from her nest in a gravel parking lot. Very interesting birds. If you’re interested this is a great site to learn more about birds.
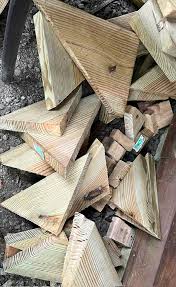
I found some scrap 2×6 boards cut into triangles in the burn pile. I had already used one of these scrap pieces to make the sandpiper so I knew I could get a bird out of another one. I rough cut the shape of the bird and its beak using my bandsaw and jigsaw. Once I had the rough outline of the bird I used my angle grinder with a sanding pad to shape the bird. I switched to a Dremel tool with a sanding bit to shape finer detail and ended by using hand sanding. Sadly I don’t have pictures of the step by step process on this project. I was having so much fun working on the project that I forgot to snap photos.

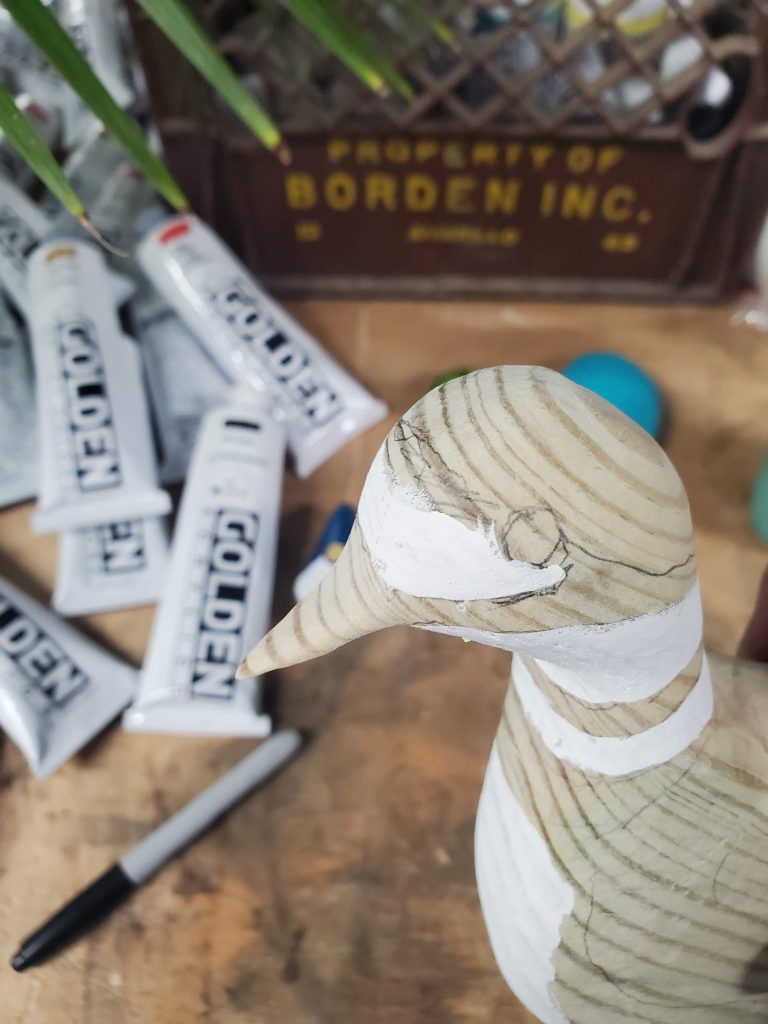
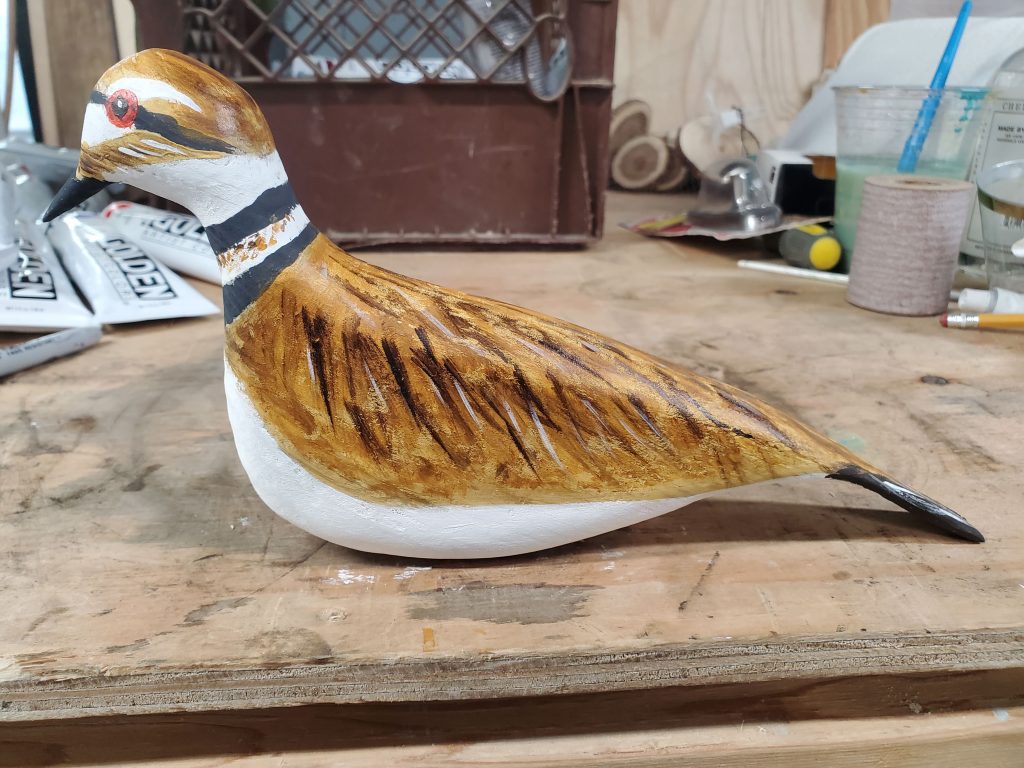

After I had shaped and sanded the bird I drew out the major color lines using a picture of the Killdeer. I used acrylic paints and layered the colors to mimic the real bird. I decided to go with a dowel rod as the legs rather than wire legs like my last project. I mounted the bird on a segment of rotted out oak tree that I also picked from the burn pile. The base is stained using a dark stain so that it complements the bird. To finish off the project I coated the bird and the base with a few coats of polyurethane. I used a satin finish which I think makes for a more flashy piece.
Fairy Themed Night Stand
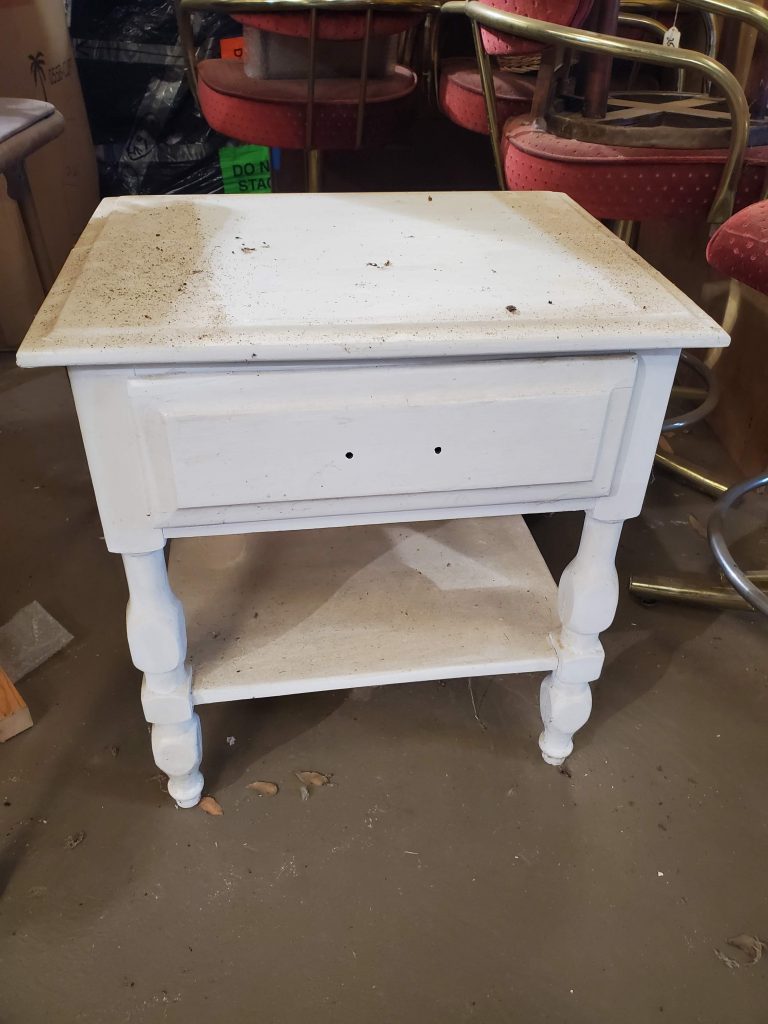
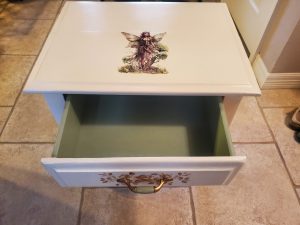
The last project I did as a gift was a fairy themed night stand for my daughter’s bedroom. She needed a legit night stand, the one she was using was tiny and didn’t offer enough space for her electronics and lamp. I did a little shopping online but wasn’t satisfied by the options and the quality offered. Most furniture lately is made from cheap materials. I really do prefer solid wood like you find in vintage furniture.
Lucky for me I had picked an old piece of furniture from the burn pile several years ago. My wife and I did a little rehab work by fixing the broken drawer front, removing the hardware and sanding it down for a paint job. She originally painted it using pure glossy white latex paint. She then applied a coat of poly but the poly dried yellow. I decided to change up the appearance to better suit it’s new purpose.
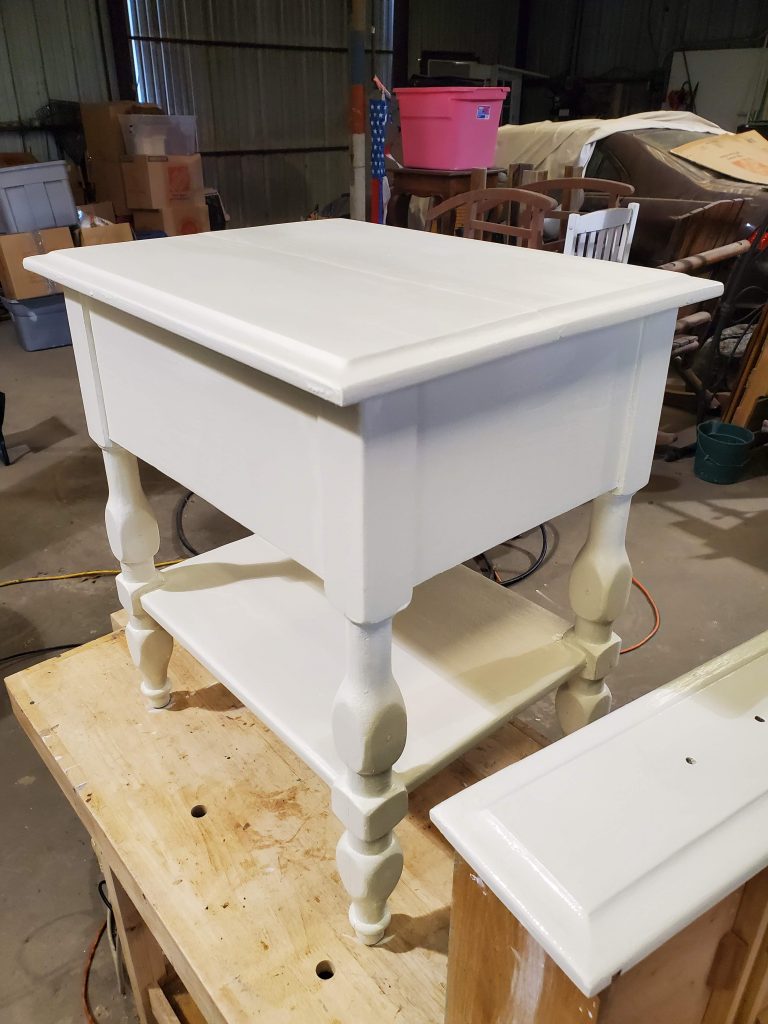
I sanded down the glossy white and repainted the piece using an antique white to tone down the piece. I then applied a fairy graphic transfer. I bought the transfer on Amazon and I was not happy about the product I bought. I followed the instructions given and laid down the graphic with the sticky side down. Using a scrapper I then applied pressure to trigger the transfer process. Afterwards I peeled away the backing paper but the paper itself was very sticky and ended up removing some of the painted surface. But that wasn’t my only problem. The graphic itself cracked and separated so that part of the image was on my furniture top while the other part stuck to the backing paper. It was tedious fixing the problem. I had to manually repair some of the artwork and repaint the areas that were peeled away. I wouldn’t recommend using those products. I used two graphics, one of a fairy and another of some yellow flowers. The flowers were the most difficult to apply.
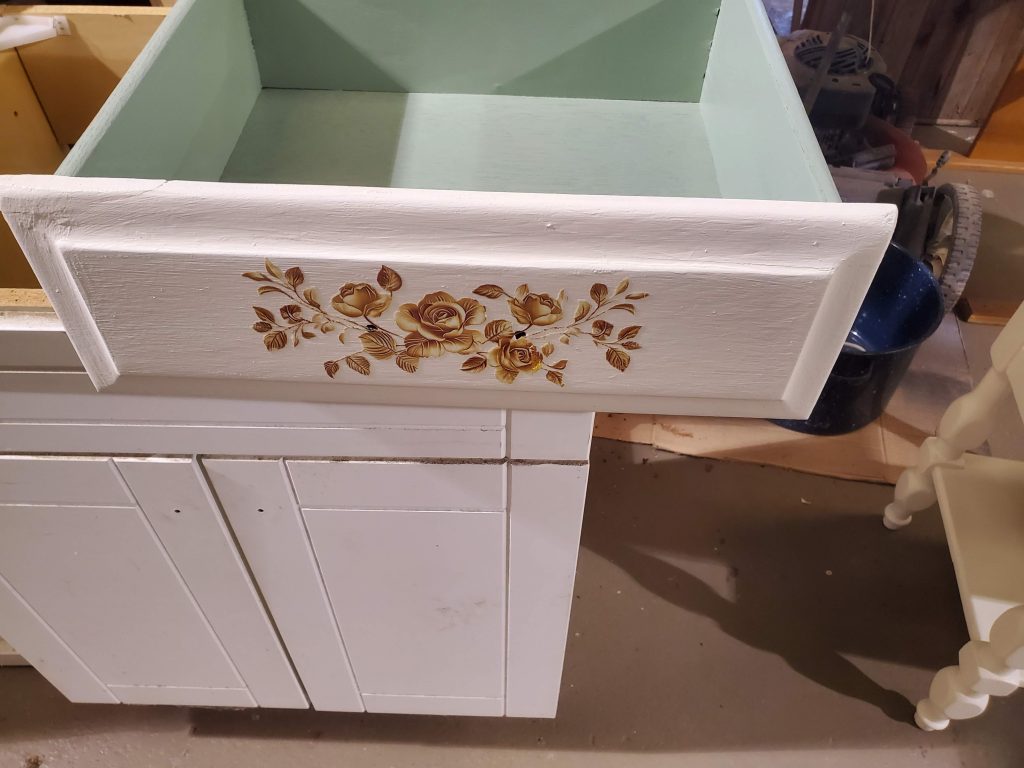
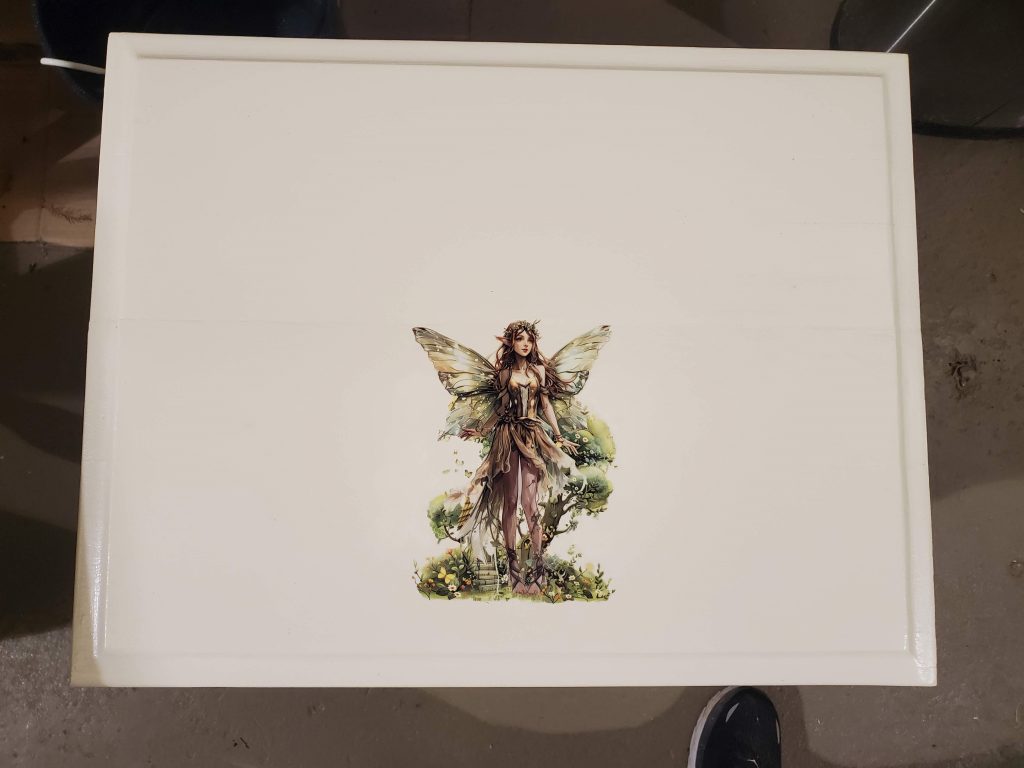
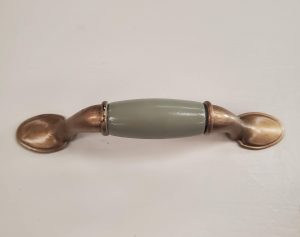
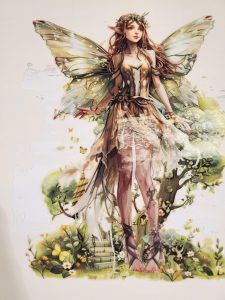
The original hardware wouldn’t look good in this scenario so I ended up using an old brass drawer pull with a plastic “pearl” handle that was yellowed by age. I taped up the pearl and spray painted the brass with gold spray paint. Then after that dried, I taped up the gold paint and sprayed the plastic center with the same sage green I used for the necklace tree. I repeated the color motive by painting the interior of the drawer a sage green. The last image in the set below is a close up of the fairy transfer after it was applied. It’s really nice artwork but like I said, be careful about buying those off of Amazon because the quality could be better.
I think the piece came out amazing. I ended up putting several coats of poly to protect the finish and the graphics. After all, I went back and read the reviews of the transfers after my experience and many folks complained about the transfer flaking off over time. I am not the only one disappointed in the Chinese transfer products from Amazon.